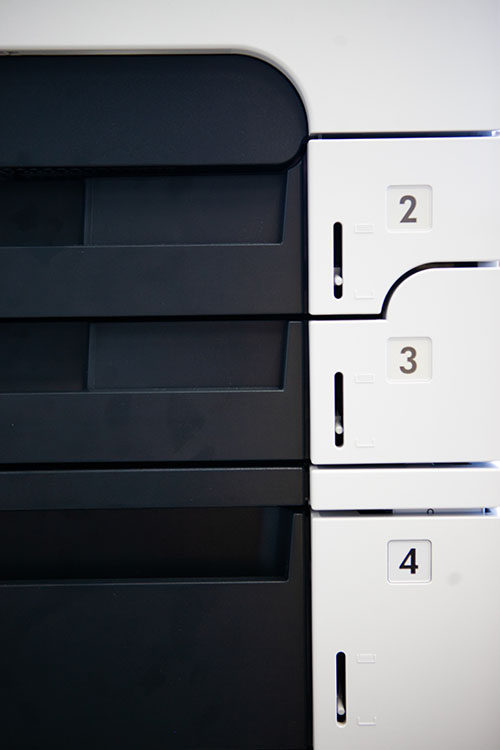
A fun task I received in my class materials and prosses was to take apart a printer with a partner. The goal in taking the printer apart was to learn what materials had been used in production and in what way parts were created. When taking apart the printer we had to be vigilant to be sure there were no parts overlooked. We studied each part to discover what material was used and how it was made.
The housing of the printer was mainly injection molded plastic parts. It was easy to tell that they were injection molded because of certain blemishes on the interior of the panels. The blemishes looked like little round buttons and they were each site of where plastic had been injected into a molding. The internals of the printer were a mix of metal plates that were cut using a CNC then pressed into their final shape. Also, plenty of wiring that was extruded to create its long cylindrical shape.
A bonus of the assignment was to create something with the parts we had salvaged from the printer. We could create anything we wanted, we settled on creating a shadow box using the glass plate from the scanner and the housing of the printer to make the frame. In the box we spelt “WHY” using screws and wiring. Then cascading downward from the bottom of the “Y” was a selection of small parts to create a visual waterfall of destruction. Who knew taking a printer apart and resembling it into a work of art could be so fun!
